Free Printable Pop Up Card Templates (Easy DIY Crafts)
Giving a greeting card is a timeless American tradition. According to the Greeting Card Association (GCA), Americans purchase approximately 6.5 billion greeting cards annually, with custom and dimensional cards rising rapidly in popularity.
While store-bought 3D cards look amazing, they can often cost upwards of $6 to $10 each at major US retail chains.
Making your own custom 3D card adds a deeply personal touch that commercial cards simply cannot replicate. Whether you are a teacher looking for a creative classroom project, a parent crafting with kids, or a papercraft enthusiast preparing for an upcoming birthday or holiday, our free printable pop-up card templates provide everything you need to create stunning dimensional art.
Below, we break down essential papercraft techniques and provide clean layouts you can print immediately on standard US printer systems.
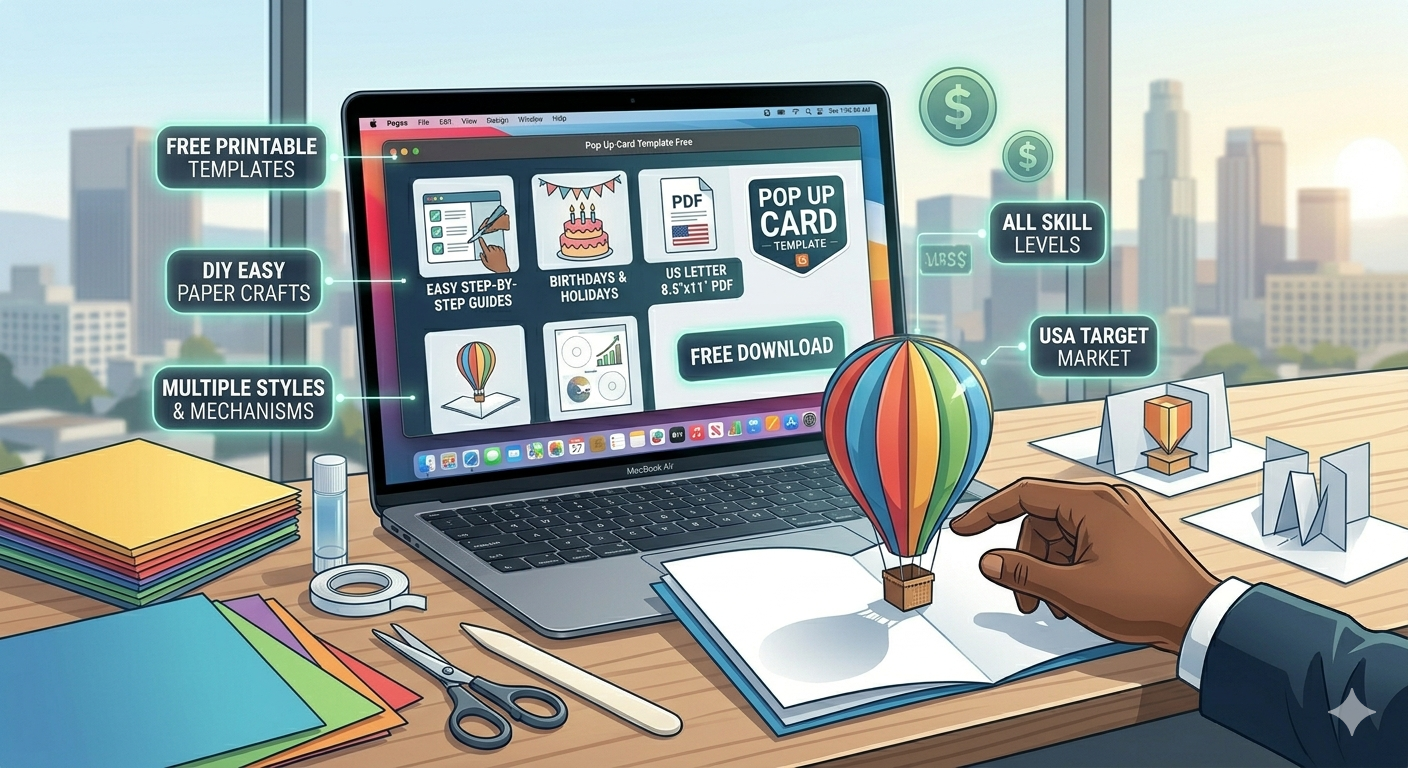
Free Printable Pop Up Card Templates
Essential Materials Checklist for 3D Card Making
Before sending your template to the printer, make sure you have gathered the proper tools. Using the correct weight of paper is the secret to a card that pops up crisply without collapsing under its own weight.
-
Cardstock Paper: For the inner pop-up mechanism and outer base, look for 65 lb to 80 lb cardstock. Standard 20 lb copy paper is too flimsy to support the structural architecture of a 3D fold.
-
Precision Cutting Tools: A sharp pair of detail scissors or a craft knife (like an X-Acto knife) paired with a self-healing cutting mat.
-
Scoring Tool: A bone folder or the clean edge of an empty ballpoint pen to score your fold lines. This ensures sharp, professional creases.
-
Adhesive: A clear-drying glue stick or high-tack double-sided scoring tape. Avoid liquid school glues, as they warp the paper fibers when drying.
Understanding Pop-Up Template Symbols
Our downloadable layouts utilize standardized engineering lines. Memorizing this universal key makes assembly intuitive and error-free:
| Line Style on Template | Required Operational Action | Purpose |
| Solid Black Lines (—) | Cut | Defines the perimeter of the pop-up shape and slot openings. |
| Dotted Lines (—) | Score & Valley Fold | Folds that crease inward toward the center of the card. |
| Dash-Dot Lines (-•-) | Score & Mountain Fold | Folds that crease outward, forming the peak of the mechanism. |
3 Popular Styles of Free Pop-Up Templates Available
We have engineered three foundational design templates that cater to different skill tiers:
1. The Box-Slat Mechanism (Beginner-Friendly)
The easiest entry point into 3D mechanics. This layout cuts parallel horizontal channels into the center fold, forming rectangular steps when opened. You can glue any decorative cutout—such as paper flowers, birthday cakes, or holiday trees—directly to the front face of these steps.
2. The V-Fold Generation (Intermediate)
This layout uses an angled mechanism that anchors across the main center seam of the card. When the card opens to 180°, the mechanism opens outward like an unfolding book, throwing the central art piece forward toward the reader.
3. Intricate Sliceform Textures (Advanced)
A beautiful architectural style featuring interlocking slotted paper pieces. This produces highly detailed structural objects—like a 3D hot air balloon or carousel—that collapse perfectly flat when closed and open dynamically into a rigid structure.
Step-by-Step Assembly Guide for Your Free Template
Once you have successfully downloaded the digital .pdf template from our resource hub, execute these operational steps:
-
Print Document: Load your 65 lb cardstock into your printer. In your system preferences, set print scaling to 100% (Actual Size) to keep structural dimensions true.
-
Cut the Mechanism: Carefully follow the solid black lines to release the internal pop-up flaps. Do not cut beyond the line thresholds.
-
Score and Pre-Fold: Run your scoring tool along the dotted and dashed lines. Gently pre-flex the cardstock back and forth along these paths to break the tension of the fibers.
-
Pop the Flaps Forward: Close the card slowly while pushing the cut-out steps or V-folds inward toward the interior cavity. Rub the closed card firmly with your bone folder to lock the memory of the shape.
-
Anchor to the Backing Card: Apply adhesive to the flat outer tabs of the pop-up liner and center it inside an uncut piece of decorative cardstock. This hides the mechanical cutouts from the outside viewer, leaving you with a flawless professional exterior finish.
Conclusion
Mastering paper mechanics is a rewarding, therapeutic process. By leveraging these free printable templates and applying clean, precise scoring practices, you can easily manufacture gorgeous custom greeting cards that impress your loved ones without stretching your budget.
Related For Free Printable Pop Up Card Templates (Easy DIY Crafts)
15+ Sample Performance Review Templ
15+ Sample Performance Review Template. It's also important for
19+ Sample Last Will And Testament
19+ Sample Last Will And Testament Template. Download our