Free Memorex CD Label Template for Mac: Download & Easy Printing Guide
Physical media remains a crucial asset for specialized sectors across the United States. Whether you are an independent musician in Austin distributing physical press kits, a wedding photographer in New England delivering high-res archives, or a medical facility backing up patient diagnostic data, Memorex blank CD-Rs and DVD-Rs remain an industry standard for data reliability.
However, many Mac users run into a common compatibility wall: most legacy disc-labeling software packages are built strictly for Windows environments.
If you own a Mac running modern macOS versions (like Sonoma or Sequoia), you don’t need to buy expensive third-party software to style your media. Below, we provide a free downloadable Memorex CD label template designed specifically for standard Mac productivity tools, paired with an exact step-by-step printing calibration guide.
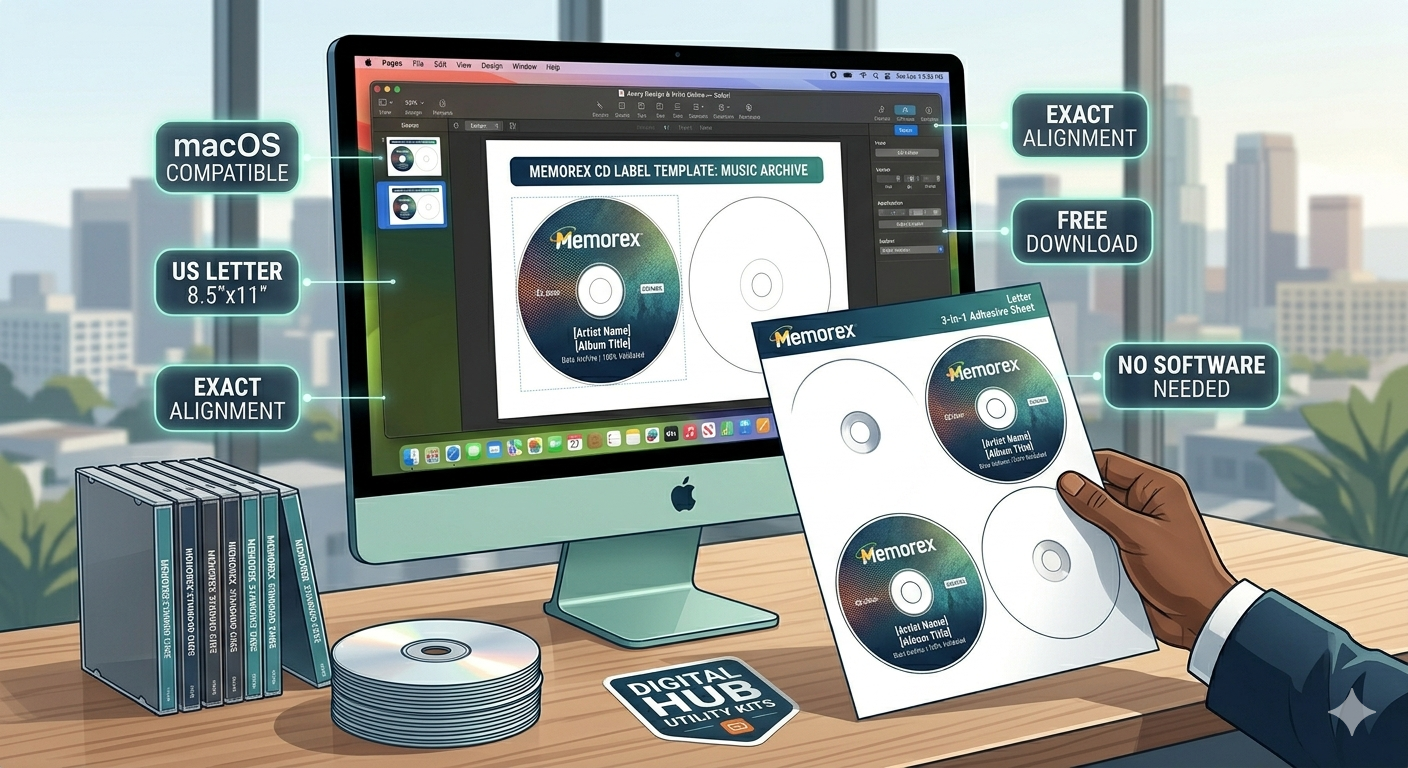
macOS printing settings for memorex cd labels 100 percent scale
Understanding Memorex Layout Dimensions (Standard US Letter)
Memorex disc labeling sheets sold in the US (such as the popular Memorex 3-in-1 Glossy or Matte packs) utilize standard US Letter size (8.5″ x 11″) backing paper. Most packs feature a dual-disc layout containing:
-
Two Circular Disc Labels: Outer Diameter of 118mm (approx. 4.65 inches) and an Inner Hub Diameter of either 22mm or 41mm.
-
Spine Layouts: Narrow rectagular adhesive slips meant for standard jewel case spines.
To ensure your text lines up perfectly without spilling over the edges, your template parameters must map exactly to these dimensions.
Free Template: Apple Pages & Microsoft Word Frameworks
Instead of installing questionable, unverified software on your Mac, the safest approach is to leverage native document processors.
We have calibrated an precise table configuration that acts as a structural mask for standard Memorex layout bounds. Copy the structural specs below into your system layout or download our clean file package:
Layout Dimension Blueprint for Mac Hand-Coding
If you want to manually configure your document workspace using Apple Pages (File > New > Blank Layout), apply these exact inspector margins:
| Property | Value Setting (US Inches) | Calibration Notes |
| Paper Size | 8.5″ x 11″ (US Letter) | Ensure it is not set to A4, as it shifts alignment. |
| Top Margin | 0.53 inches | Centers the first circular die-cut zone perfectly. |
| Side Margins | 0.75 inches | Keeps lateral alignment steady on standard trays. |
| Orientation | Portrait | Keeps tracking linear from top to bottom. |
3 Ways to Design and Print CD Labels on macOS for Free
If you prefer a visual interface over manual margin adjustments, here are the three cleanest, free design routes available on macOS:
1. The Apple Pages Route (Recommended)
Apple Pages treats layout structures beautifully. You can insert circular shapes matching the 4.65-inch scale, set their fill to your desired artwork, and group your text layer right inside the boundary. It handles high-resolution graphics natively without degrading print clarity.
2. Avery Design & Print Online (Safari-Friendly)
Avery provides an excellent cloud-based designer that runs flawlessly on Mac Safari browsers. Because many Memorex formats directly match Avery cross-reference codes (like Avery 5931 or 8692), you can simply type the product code into their online wizard, design your graphics, and export a perfectly aligned PDF document to print from your Mac.
3. OpenOffice / LibreOffice for Mac
For open-source enthusiasts, LibreOffice offers built-in label wizards. Go to New > Labels, select the brand type or enter custom physical dimensions, and it will auto-populate an entire sheet layout instantly.
Step-by-Step Print Configuration to Avoid Misalignments
The biggest complaint with printing disc labels on a Mac is shifting—where the print job slips a quarter-inch out of the die-cut circle. Follow this printing checklist to guarantee a perfect strike on your first try:
-
Print a Test Copy First: Print your completed design onto a plain piece of standard copy paper. Place your printed paper directly over the glossy Memorex sticker sheet and hold them up to a bright window or light source to verify alignment.
-
Disable “Scale to Fit”: In the macOS system print dialog box, ensure that “Scale” is locked at exactly 100% and that options like “Fit to Page” or “Scale to Fit” are completely unchecked.
-
Set Media Type Control: Change your printer paper settings from Plain Paper to Photo Paper or Labels. This tells your hardware to feed the thick adhesive sheet slower, avoiding internal alignment slippage.
Conclusion
Printing custom labels for your Memorex media shouldn’t be stressful on macOS. By utilizing native applications like Apple Pages alongside accurate physical dimensional layouts, you eliminate the need for bloated software suites, maintaining a clean system while producing professional, high-fidelity physical media.
Related For Free Memorex CD Label Template for Mac: Download & Easy Printing Guide

Food Costing Sheet Template
Food Costing Sheet Template. Www.pinterest.com each week brings files.
11+ Flyer Samples Templates
11+ Flyer Samples Templates. ✓ free for commercial use
6+ Sample Incident Report Form Temp
6+ Sample Incident Report Form Templates. Incident reporting in